
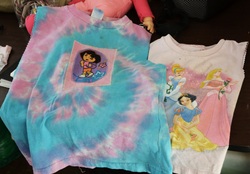
I don’t know about your kids, but mine can get very attached to their clothing…especially those with their favorite characters on them (grr). It can be very difficult to get them to let go of a heavily worn t-shirt, even when they have nicer, newer ones ready to wear. Since we have been a mostly “paperless” household as far as paper towels and paper napkins are concerned for some time, I started recycling their favorite t-shirts into dinner napkins as a way to get them to “let go” as well as keep their newer clothing in better condition by encouraging them wiping their hands on the shirt napkin rather then what they are wearing.
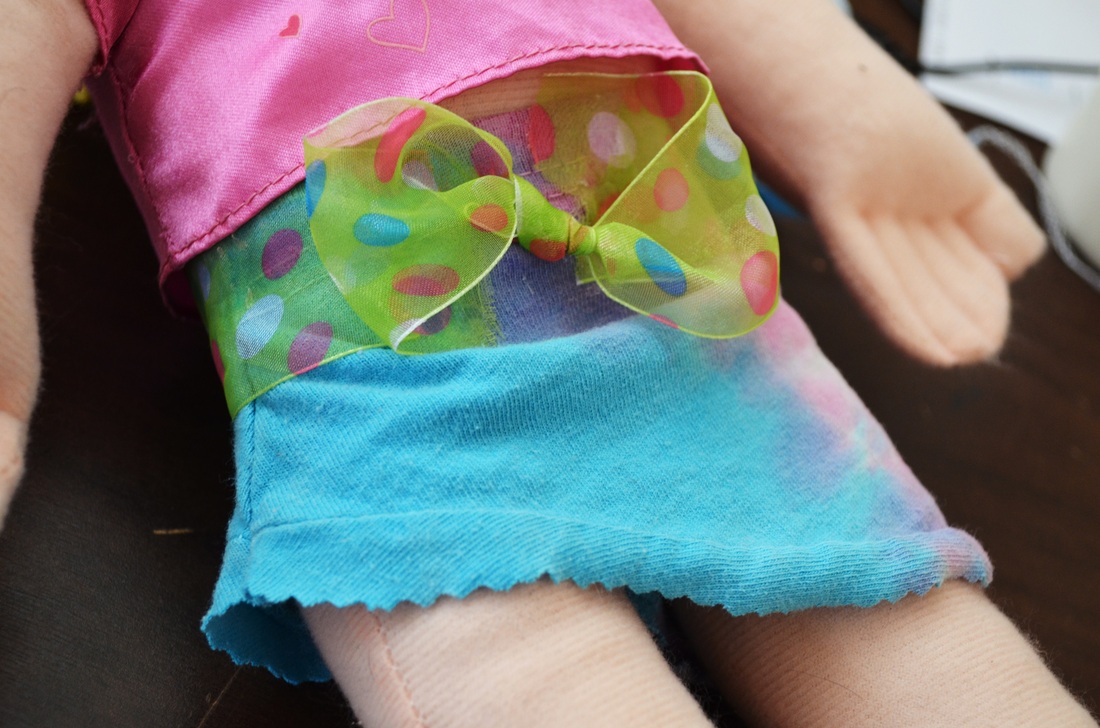
When Ani decided she was ready to turn her favorite “Dora” t-shirt into a napkin I cut off a sleeve and her what-can-i-do-with-this-scrap instinct just kicked in (no wonder where she got that from!). She first placed the sleeve on her wrist, thinking cuff, but then I came to realize it was the perfect size for a doll skirt! And TADA, a new collection of doll clothing, 4 unique angle skirts that we decorated with scraps of ribbon and trimmings. Here’s how! (and keep
reading, because we didn’t stop there…we literally recycled this entire shirt into a number of fun, useable items!).
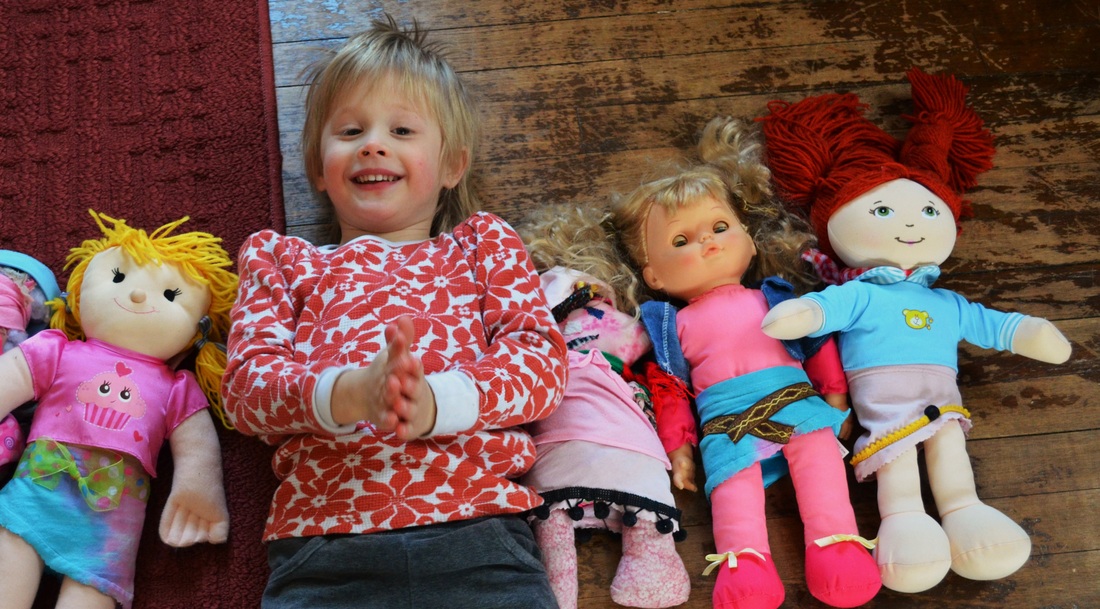
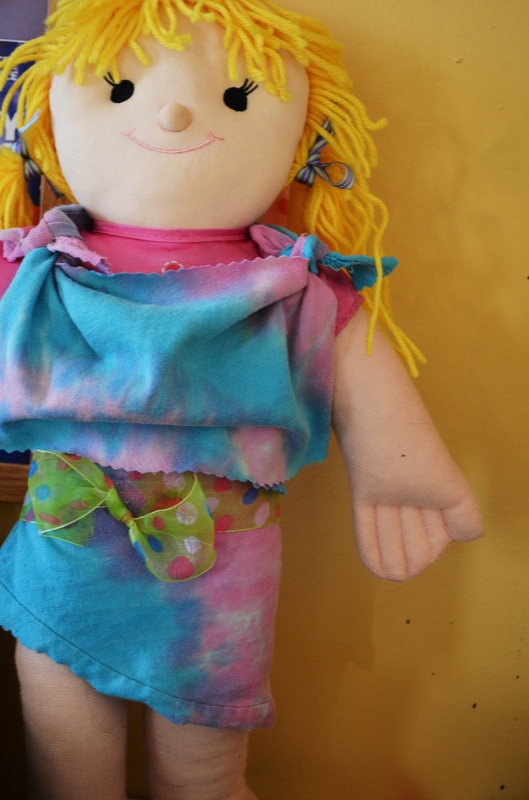
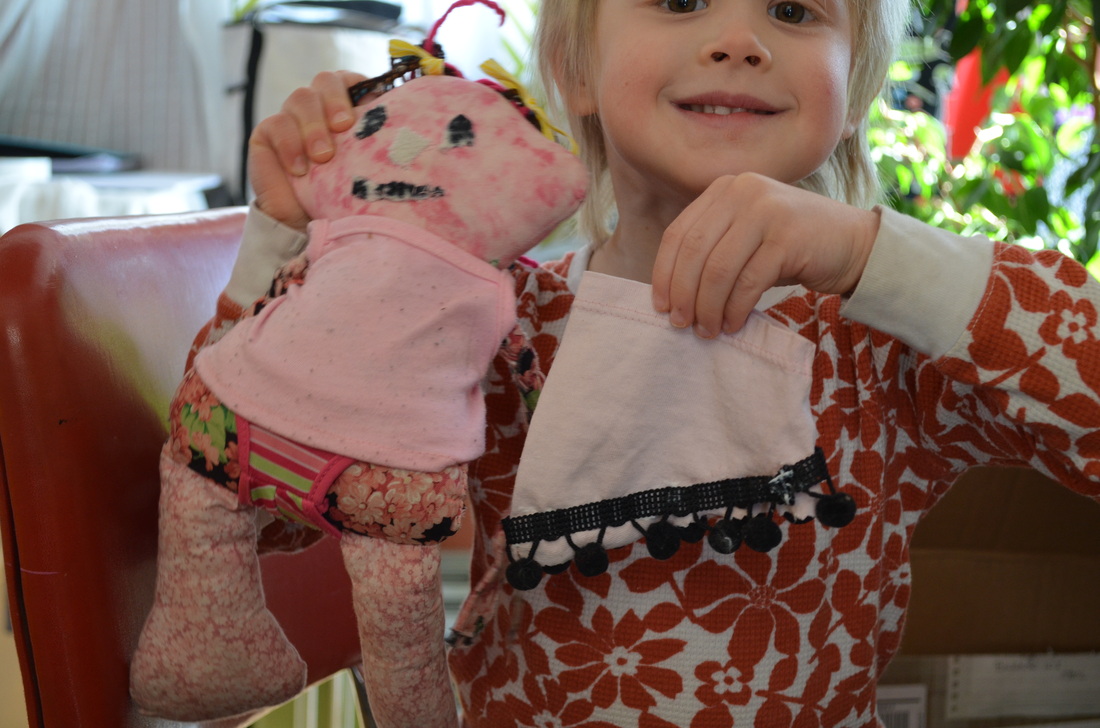
We started with 2 of Ani's size 4 t-shirts. I find these sleeves are the perfect size to fit a 16" doll, which could be an American Girl or My Generation doll. In our case, they are a selection of random dolls from Ani's "posse". I would imagine with an adult size t-shirt, this could even apply to a baby skirt. The great thing about t-shirts is that the knit material is stretchy enough to fit over multiple shapes and sizes of dolls. Alterations can be made for better fit, depending on your skills. I try to make projects simple enough that Ani can do them easily and independently, within a time frame that acccounts for a 4-year-old attention span. But I could see these getting really fun adding in sewing machine skills and additional fabrics, etc. We'll keep it simple, but you can get as creative as you want!
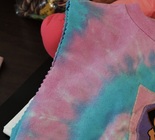
We cut off the sleeves passed the seam with pinking shears. If you don't have pinking shears, regular fabric scissors will do just fine, and make for a more raw, edgy look to the skirt. The great thing about knits is that they don't fray, so there is no need to finish a hem. Do this with both sleeves on the shirts.
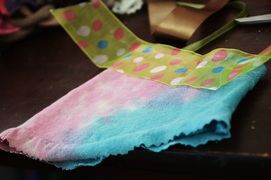
Next we use scraps of ribbon and trimmings to decorate the skirts. We simply glued these on with fabric glue, which was easy for Ani to do independently. It's ok if the glue gets a little messy on the edges, because it will dry clear and flexible. Again, if you wanted a more "professional" look, these could easily be hand or machine sewn on. Depending on what kind of glue you use, this may be a way to make it last a little longer. We used professional grade fabric glue, but it is not readily available in craft stores, so may be a little harder (and more expensive) to acquire. This is the part where using what you have can get really creative and fun!
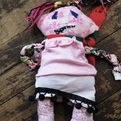
These are the 4 finished skirts we created...probably in less than an hour, using recycled and found materials:
 | 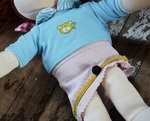 |  |  |
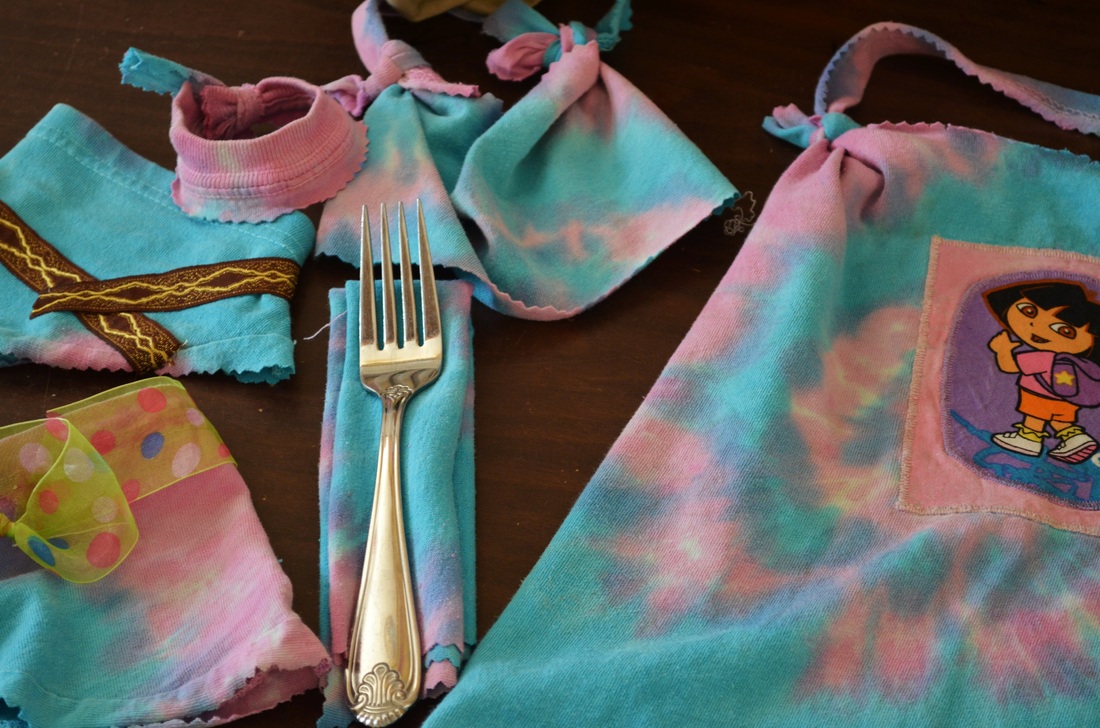
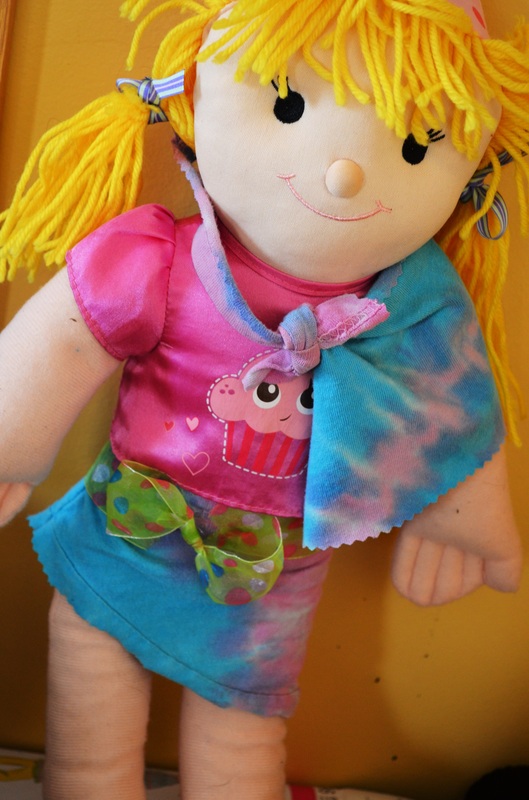
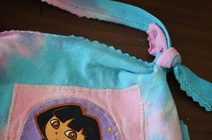
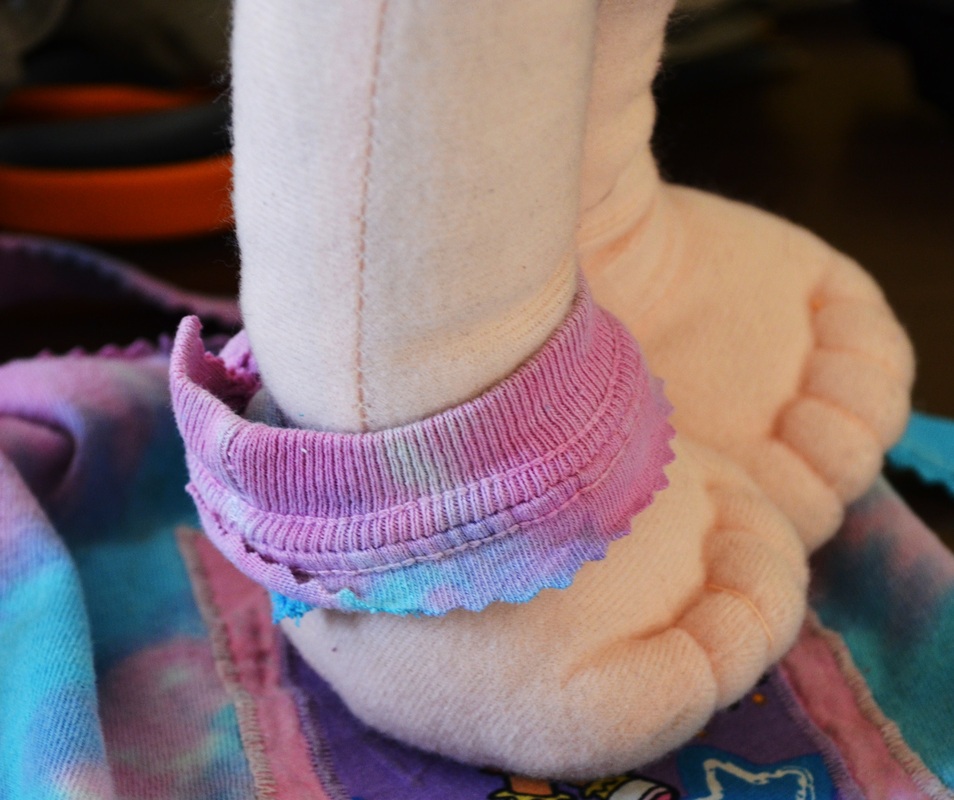
After we did the doll skirts, I continued to cut up the t-shirts and ended up with a child apron, napkin, doll or child cuff, and a doll (or baby) bib, that I think also looks cute as a little shirt or cape style garment for a doll. I cut off the big solid front and back pieces for the apron and napkin, then I was able to use the side seams and bottom hemmed seam for the apron neck strap and waist ties. There was no sewing, just tie the neck strap onto the shoulder area of the front piece, and snip slits on the waist sides, string the ties through and knot on the side. I'm sure you could find additional uses for the remaining items. Very little of the t-shirt was lost to scrap. Enjoy!
 |  |   |
 RSS Feed